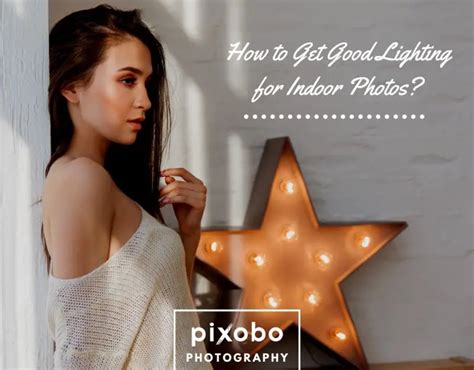
How To Get Good Lighting For Pictures Indoors
Ronan Farrow
Mar 24, 2025 · 3 min read

Table of Contents
How to Get Good Lighting for Pictures Indoors
Taking stunning photos indoors can be challenging without the natural light you'd find outdoors. But don't worry! With a little know-how, you can achieve beautifully lit pictures right in your own home. This guide will walk you through different techniques and tools to master indoor photography lighting.
Understanding Indoor Light Sources
Before diving into techniques, it's crucial to understand the different types of light sources you'll encounter indoors:
1. Ambient Light:
- Natural Light: This is often the best option. Position your subject near a window for soft, diffused light. Consider the time of day – morning and late afternoon light tends to be softer and more flattering than harsh midday sun.
- Artificial Light: This includes incandescent bulbs, fluorescent lights, and LEDs. Each has a different color temperature (warm, cool, or neutral), affecting the overall mood and tone of your photos.
2. Direct Light vs. Diffused Light:
- Direct Light: Harsh, direct light creates strong shadows and can wash out your subject. Try to avoid it or soften it using diffusers.
- Diffused Light: Soft, diffused light is ideal. It minimizes harsh shadows and creates a more even, flattering illumination.
Essential Tools for Better Indoor Lighting
While you can achieve good lighting with what you have, a few tools can significantly elevate your indoor photography game:
1. Diffusers:
- DIY Diffusers: A simple white sheet or curtain hung in front of a window can diffuse harsh sunlight beautifully.
- Professional Diffusers: Softboxes and umbrellas are specifically designed to soften and spread light from flash or continuous lighting sources.
2. Reflectors:
- DIY Reflectors: A large piece of white foam board or even aluminum foil can be used to bounce light back onto your subject, filling in shadows.
- Professional Reflectors: These come in various sizes and colors (gold, silver, white) to provide different lighting effects.
3. Continuous Lighting:
- LED Light Panels: These offer adjustable color temperature and brightness, giving you excellent control over your lighting.
- Desk Lamps: While not as powerful, they can be useful for supplemental lighting or creating specific mood lighting.
4. Flash Photography (Speedlights or Strobes):
- Speedlights: Portable flash units that attach to your camera.
- Studio Strobes: More powerful and versatile lighting units, often used in professional photography. These typically require more advanced setup and knowledge.
Techniques for Mastering Indoor Lighting
Here are some practical techniques to apply your newfound knowledge:
1. Utilize Natural Light Effectively:
- Window Light: Place your subject near a window, avoiding direct sunlight. Experiment with different window positions and times of day for diverse lighting effects.
- Side Lighting: Position your subject slightly off-center to the window for a more dynamic look. This creates a subtle shadow that adds depth.
2. Employ Artificial Lighting Strategically:
- Multiple Light Sources: Use a combination of light sources (e.g., a lamp and a window) to create more balanced and dimensional lighting.
- Color Temperature Balance: Ensure your artificial lights complement the ambient light and avoid color casts. Use white balance settings on your camera to correct any discrepancies.
3. Control Shadows:
- Fill Light: Use a reflector or secondary light source to fill in dark shadows and add dimension to your subject.
- Shadow Emphasis: Strategically positioned shadows can add drama and depth to your photographs.
Conclusion: Embrace the Light!
Mastering indoor lighting is a journey, not a destination. Experiment with different techniques and tools to find what works best for your style and the type of photos you take. By understanding light and applying these techniques, you can create stunning images indoors that rival those taken in the great outdoors. Remember to practice consistently and observe the results to further enhance your skills. Happy shooting!
Featured Posts
Also read the following articles
| Article Title | Date |
|---|---|
| How To Clean Mist Nozzle | Mar 24, 2025 |
| How To Get A Horse To Like You | Mar 24, 2025 |
| How To Clean Shredder Blades | Mar 24, 2025 |
| How To Disinfect Invisalign Retainers | Mar 24, 2025 |
| How To Flush Your System Of Meth | Mar 24, 2025 |
Latest Posts
-
How Heavy Is A Gearbox
Apr 04, 2025
-
How Heavy Is A Car Door
Apr 04, 2025
-
How Heavy Are Jeep Doors
Apr 04, 2025
-
How Heavy Are Blue Pallets
Apr 04, 2025
-
How He Loves Us Sheet Music
Apr 04, 2025
Thank you for visiting our website which covers about How To Get Good Lighting For Pictures Indoors . We hope the information provided has been useful to you. Feel free to contact us if you have any questions or need further assistance. See you next time and don't miss to bookmark.
